
This post is part 2 of a four-part series Locking Down Your VPS.
Within minutes of your VPS going live, bots will find it. They scan the entire internet continuously, looking for open SSH ports. When they find one, they start trying passwords: thousands of them, automatically, around the clock.
Most of the time they fail. But "most of the time" isn't good enough when they're hammering your server 24/7. Every failed attempt is noise in your logs, wasted server resources, and a reminder that someone is always trying.
The volume is what actually caught my attention during that first conversation with my friend. He'd casually mention how many attempts his monitoring had caught that day, and it wasn't a handful; it was hundreds. That's when "someone is always trying" stopped being an abstract warning and started being a number I could see for myself.
Fail2ban fixes this by watching your logs and automatically banning IPs that fail authentication too many times. A bot gets three tries, then it's blocked for an hour. It's simple, effective, and runs silently in the background once it's set up.
How Fail2ban Works
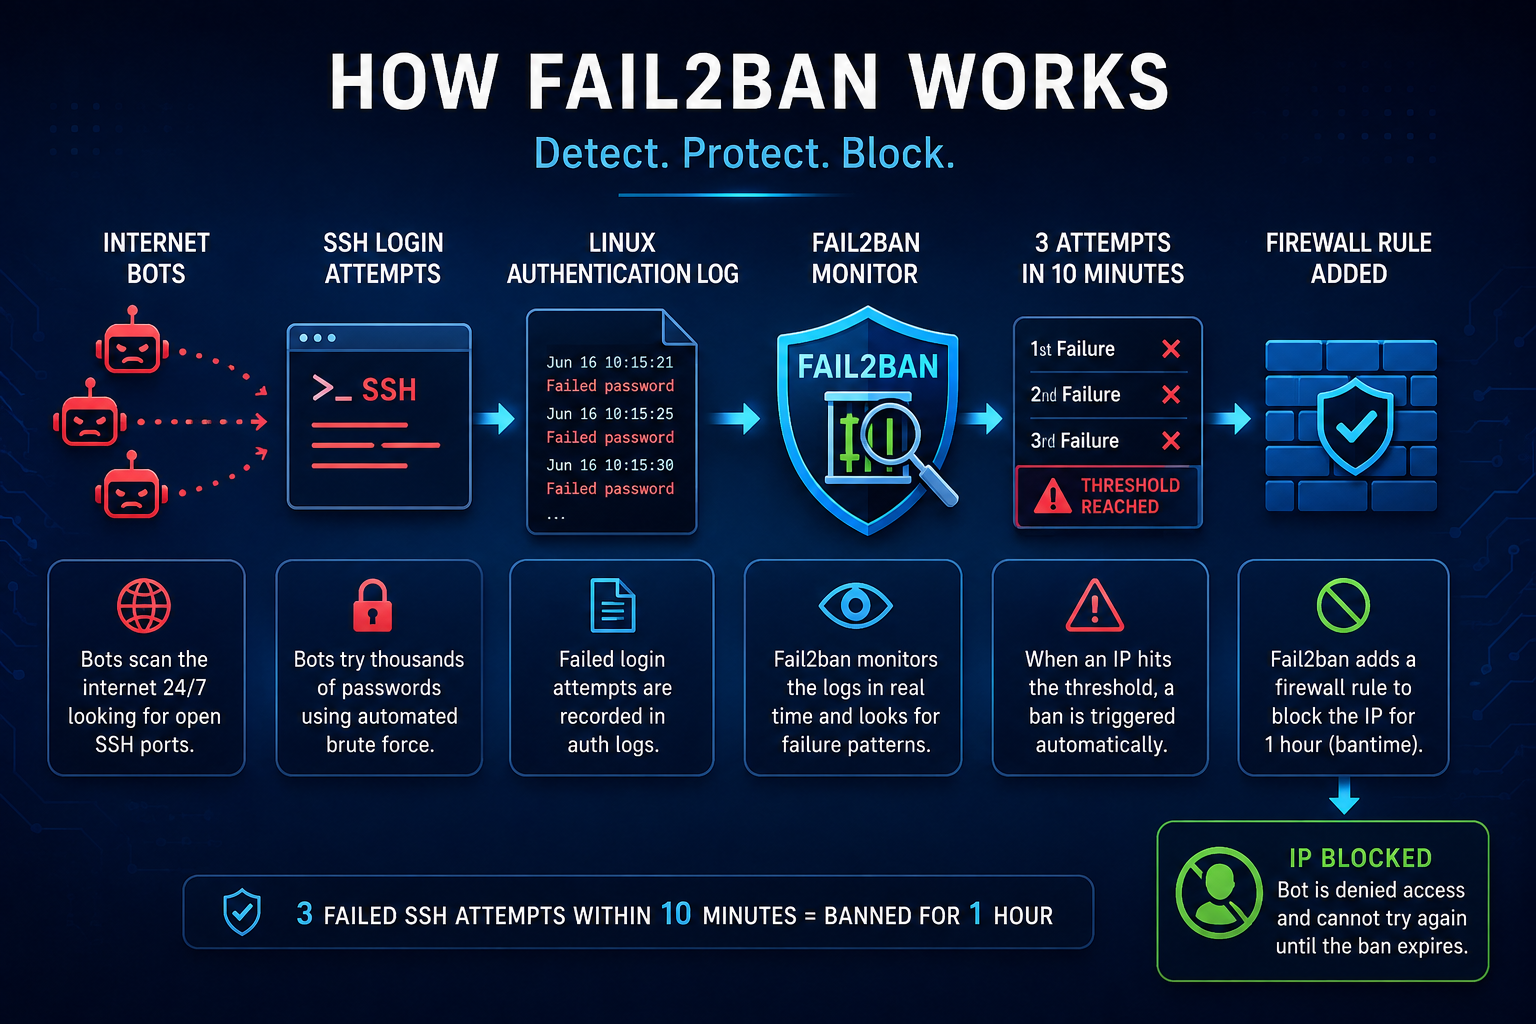
Fail2ban monitors log files for patterns that indicate repeated failures. When an IP exceeds your threshold within a defined time window, Fail2ban adds a firewall rule to block it for a set duration.
The key settings are:
| Setting | What it does |
|---|---|
| maxretry | Failed attempts before ban (we use 3) |
| findtime | Window to count failures (we use 10 minutes) |
| bantime | How long the ban lasts (we use 1 hour) |
So the rule is: 3 failed SSH attempts within 10 minutes = banned for 1 hour.
Three attempts is strict. It means a legitimate user who miskeys their password twice and then gets it right is fine; they don't get banned. But a bot running through a wordlist hits the wall immediately.
Before You Run This: Whitelist Your IP
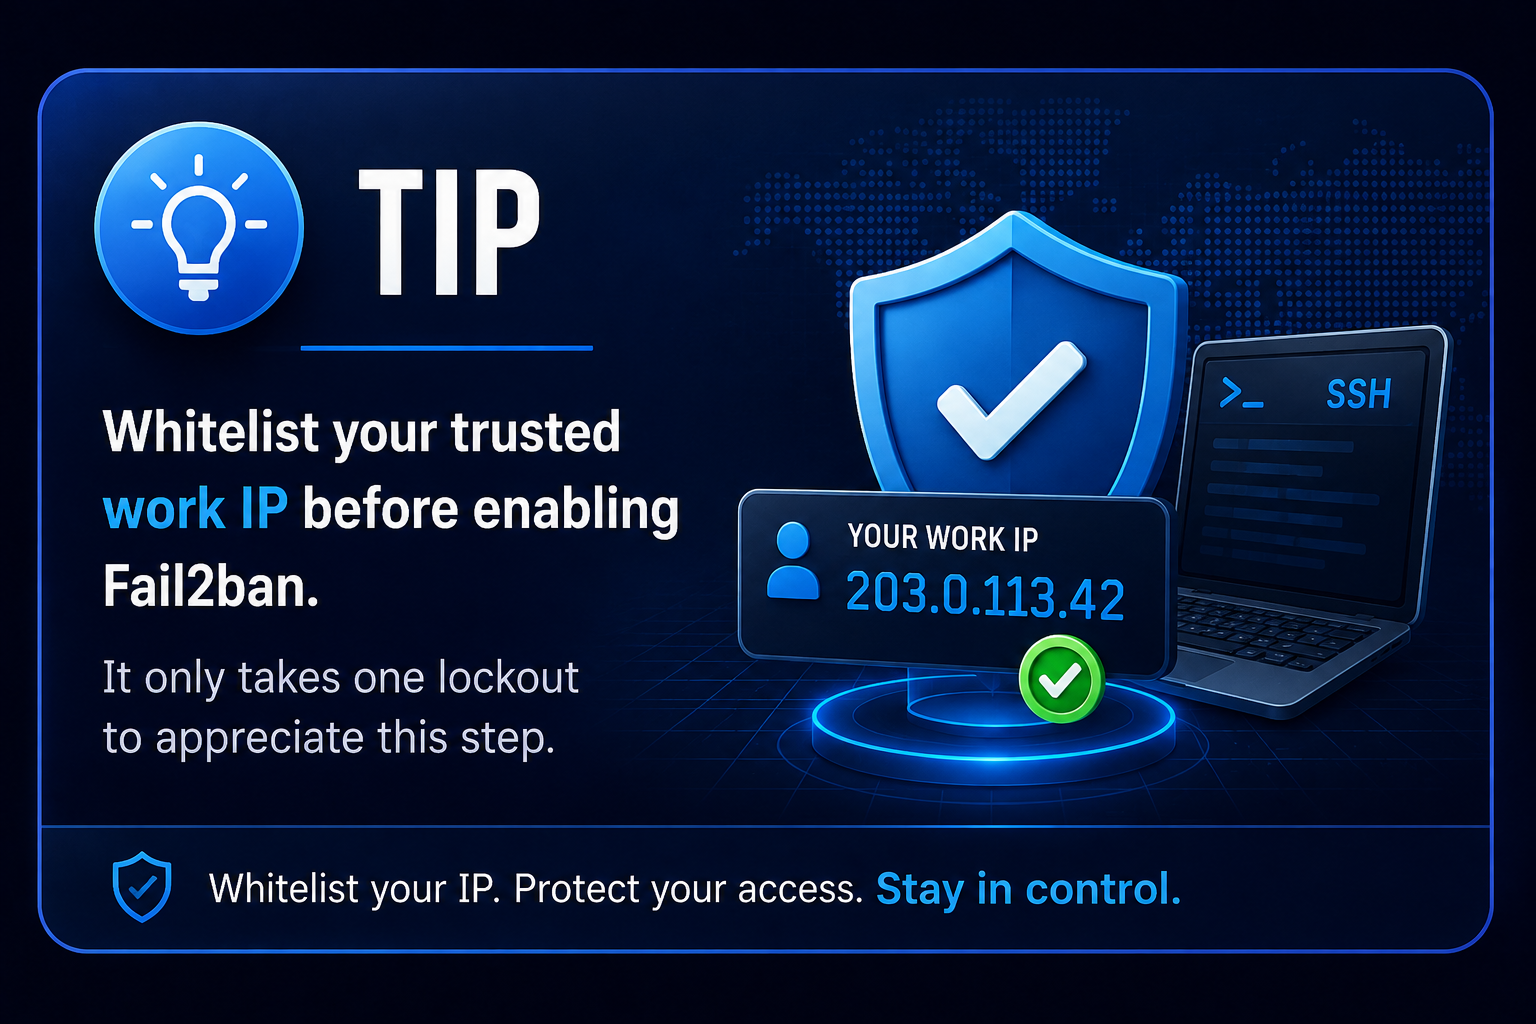
The most common Fail2ban mistake is locking yourself out of your own server. If you mistype your password three times from your work machine, Fail2ban will ban your IP and you won't be able to get back in.
Add your work IP to the whitelist before running the setup script.
⚠️ Do not whitelist your home IP if you're behind a dynamic IP or VPN: those change, and whitelisting a rotating IP gives you false confidence. Your work IP is more likely to be static.
To find your current public IP:
curl ifconfig.me
The Setup Script
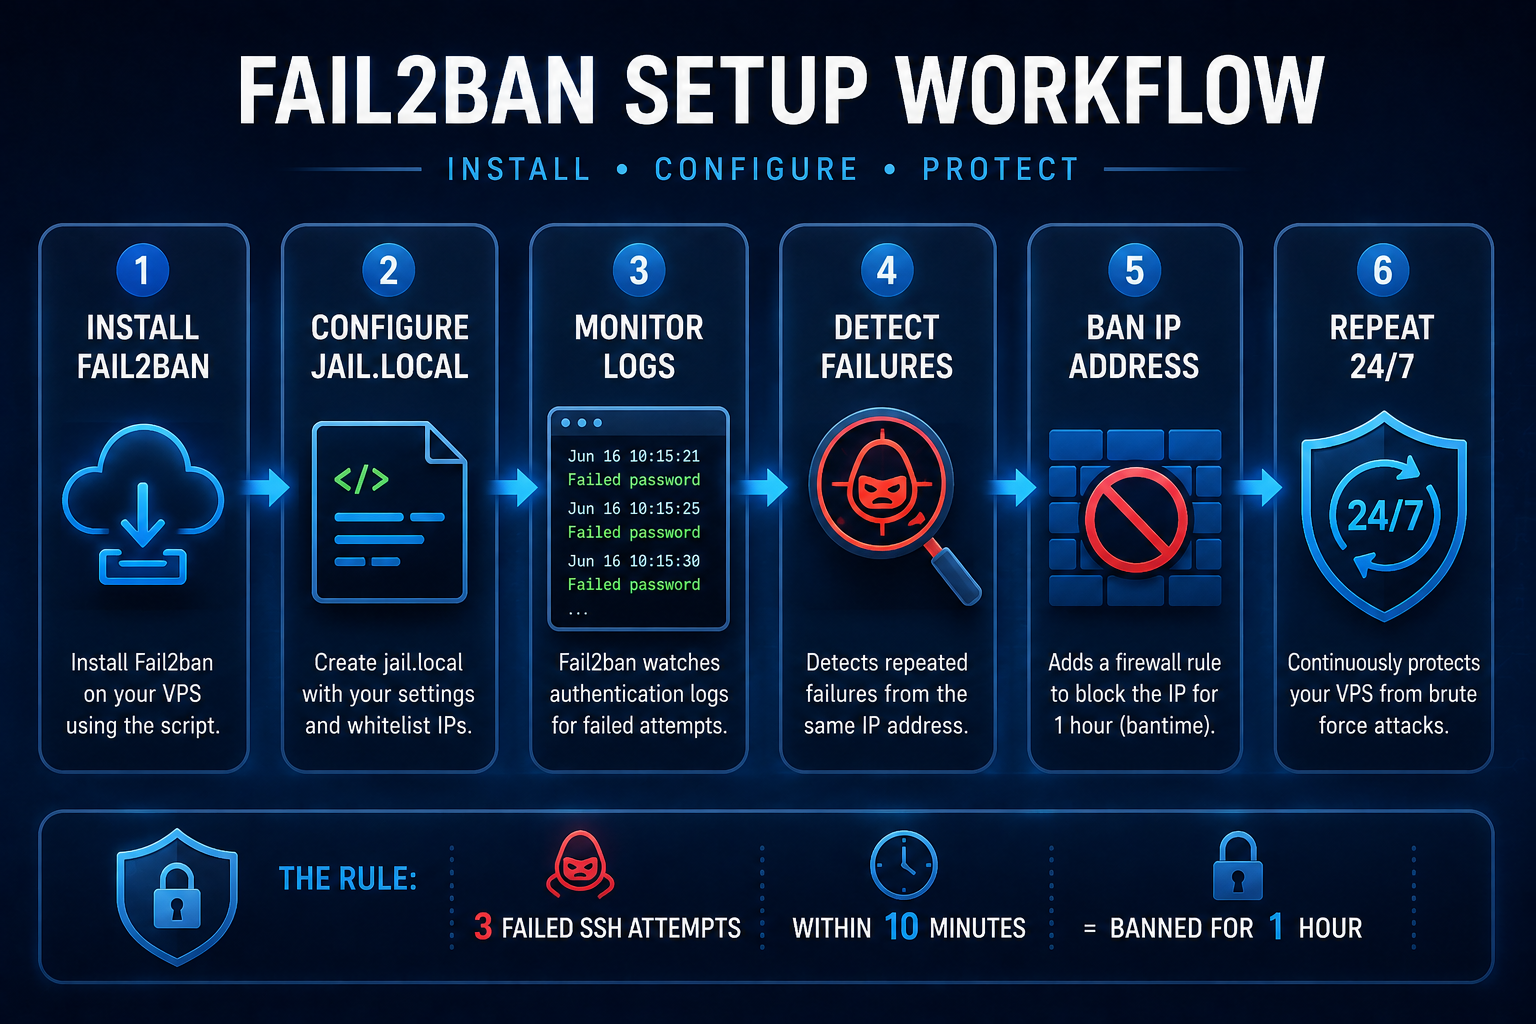
Save this as /root/scripts/fail2ban-setup.sh, the same standard location used across this series. This script installs Fail2ban, writes the configuration, and enables it as a system service. Update WHITELIST_IPS with your actual work IP before running.
#!/bin/bash
# =============================================================================
# Fail2ban Setup Script: Ubuntu 22.04 LTS
# Protects SSH against brute force attacks
# Run as non-root user with sudo privileges
# =============================================================================

# --- CONFIGURATION ---
# Add your static work IP below to prevent accidental lockout.
# Separate multiple IPs with a space.
WHITELIST_IPS="127.0.0.1/8 ::1 YOUR.WORK.IP.HERE"

# Ban settings
BAN_TIME=3600       # How long to ban an IP in seconds (3600 = 1 hour)
FIND_TIME=600       # Window to count failures in seconds (600 = 10 minutes)
MAX_RETRY=3         # Failed attempts before ban

log() {
    echo "[$(date '+%Y-%m-%d %H:%M:%S')] $1"
}

separator() {
    echo "=============================================="
}

# --- PREFLIGHT CHECK ---
separator
log "FAIL2BAN SETUP STARTED"
separator

# Warn if work IP hasn't been set
if [[ "$WHITELIST_IPS" == *"YOUR.WORK.IP.HERE"* ]]; then
    echo ""
    echo "  WARNING: You have not set your work IP in WHITELIST_IPS."
    echo "  If you mistype your SSH password 3 times, you will be locked out."
    echo ""
    read -p "  Continue without whitelisting your work IP? (yes/no): " CONFIRM
    if [[ "$CONFIRM" != "yes" ]]; then
        log "Aborted. Edit WHITELIST_IPS and re-run."
        exit 0
    fi
fi

# --- INSTALL ---
log "Updating package list..."
sudo apt-get update -q

log "Installing fail2ban..."
sudo apt-get install -y -q fail2ban

# --- WRITE JAIL.LOCAL ---
log "Writing /etc/fail2ban/jail.local..."

sudo tee /etc/fail2ban/jail.local > /dev/null <<EOF
# =============================================================================
# Fail2ban Local Configuration
# Do NOT edit jail.conf: it gets overwritten on updates.
# Edit this file instead.
# =============================================================================

[DEFAULT]
ignoreip = $WHITELIST_IPS
bantime  = $BAN_TIME
findtime = $FIND_TIME
maxretry = $MAX_RETRY
backend  = systemd
logtarget = /var/log/fail2ban.log

[sshd]
enabled  = true
port     = ssh
filter   = sshd
maxretry = $MAX_RETRY
bantime  = $BAN_TIME
EOF

log "jail.local written."

# --- ENABLE AND START ---
log "Enabling fail2ban..."
sudo systemctl enable fail2ban

log "Starting fail2ban..."
sudo systemctl restart fail2ban

sleep 3

# --- VERIFY ---
separator
log "Verifying status..."
sudo systemctl is-active fail2ban

log "Active jails:"
sudo fail2ban-client status

separator
log "SSH jail details:"
sudo fail2ban-client status sshd

separator
log "FAIL2BAN SETUP COMPLETE"
separator

echo ""
echo "  Useful commands:"
echo ""
echo "  Check status:              sudo fail2ban-client status sshd"
echo "  View banned IPs:           sudo fail2ban-client status sshd"
echo "  Unban an IP:               sudo fail2ban-client set sshd unbanip <IP>"
echo "  View fail2ban log:         sudo tail -f /var/log/fail2ban.log"
echo "  Restart after config change: sudo systemctl restart fail2ban"
echo ""
What jail.local Does (and Why Not jail.conf)
Fail2ban ships with a jail.conf file that contains its default configuration. Never edit jail.conf directly: it gets overwritten every time Fail2ban updates.
Instead, Fail2ban checks for a jail.local file and uses it to override the defaults. Our script writes to jail.local exclusively, so your settings survive updates safely.
Running the Script
# Make it executable
sudo chmod +x /root/scripts/fail2ban-setup.sh

# Run it
sudo /root/scripts/fail2ban-setup.sh
You'll be prompted to confirm if you haven't set a whitelist IP. After that it runs automatically and prints a status summary at the end.
Verifying It's Working
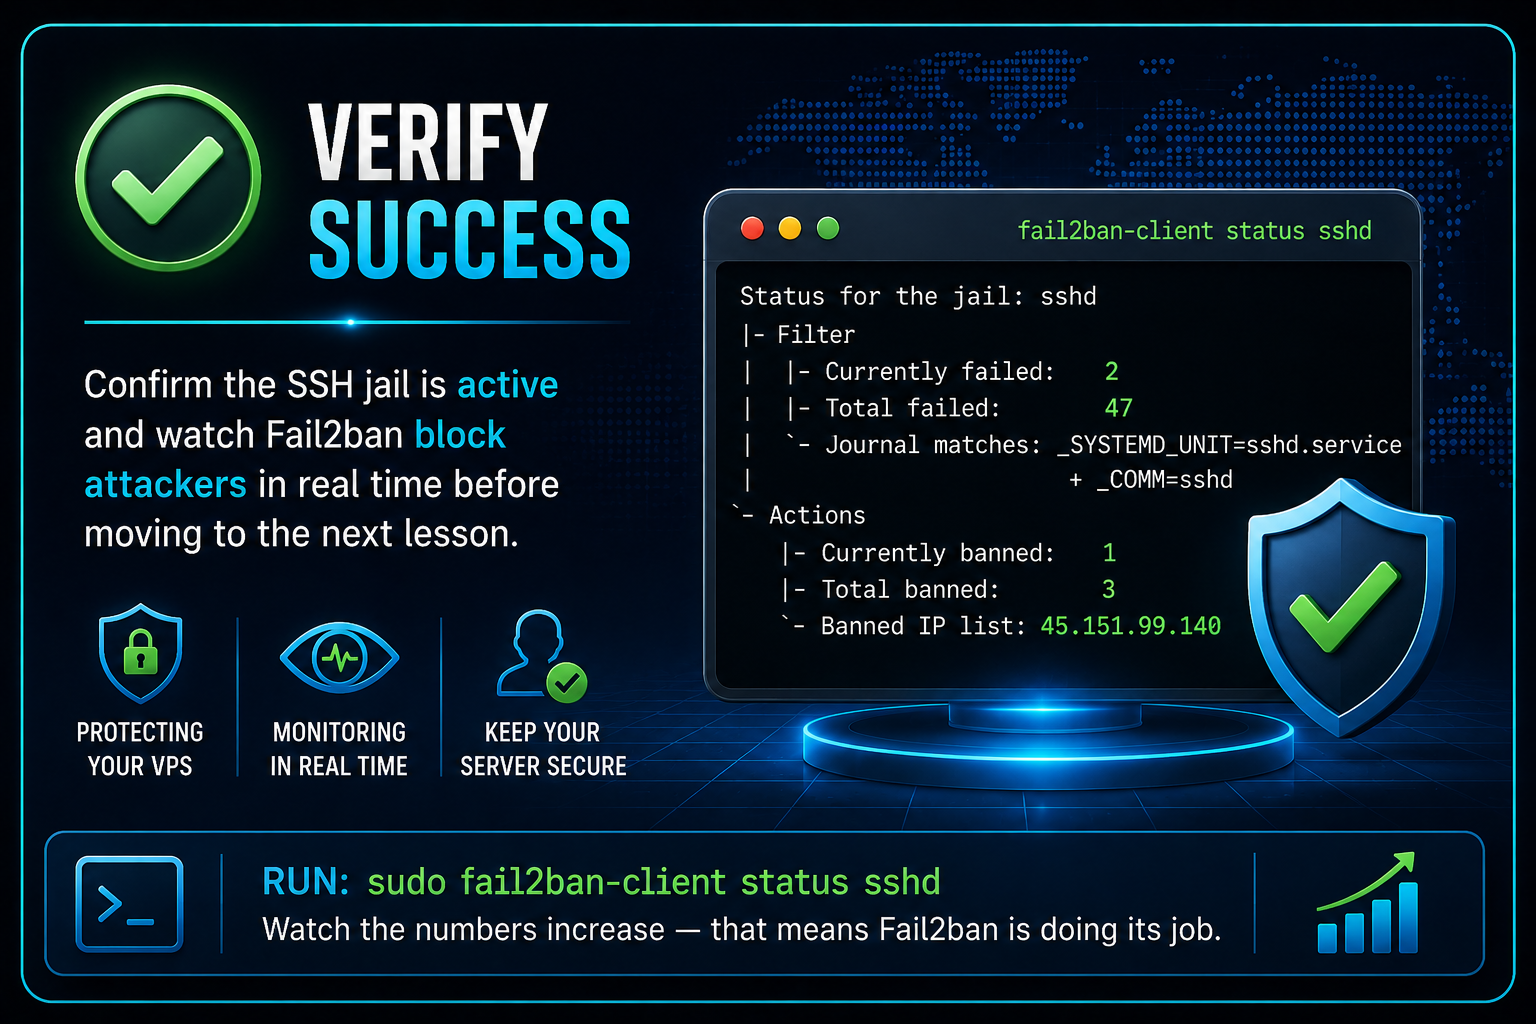
After setup, check the SSH jail status:
sudo fail2ban-client status sshd
You should see output like:
Status for the jail: sshd
|- Filter
|  |- Currently failed: 2
|  |- Total failed: 47
|  `- Journal matches:  _SYSTEMD_UNIT=sshd.service + _COMM=sshd
`- Actions
   |- Currently banned: 1
   |- Total banned: 3
   `- Banned IP list: 45.151.99.140
"Total failed: 47" after just a few hours is normal; bots find open SSH ports fast. "Currently banned: 1" means Fail2ban is doing its job.
Watch it in real time:
sudo tail -f /var/log/fail2ban.log
If You Lock Yourself Out
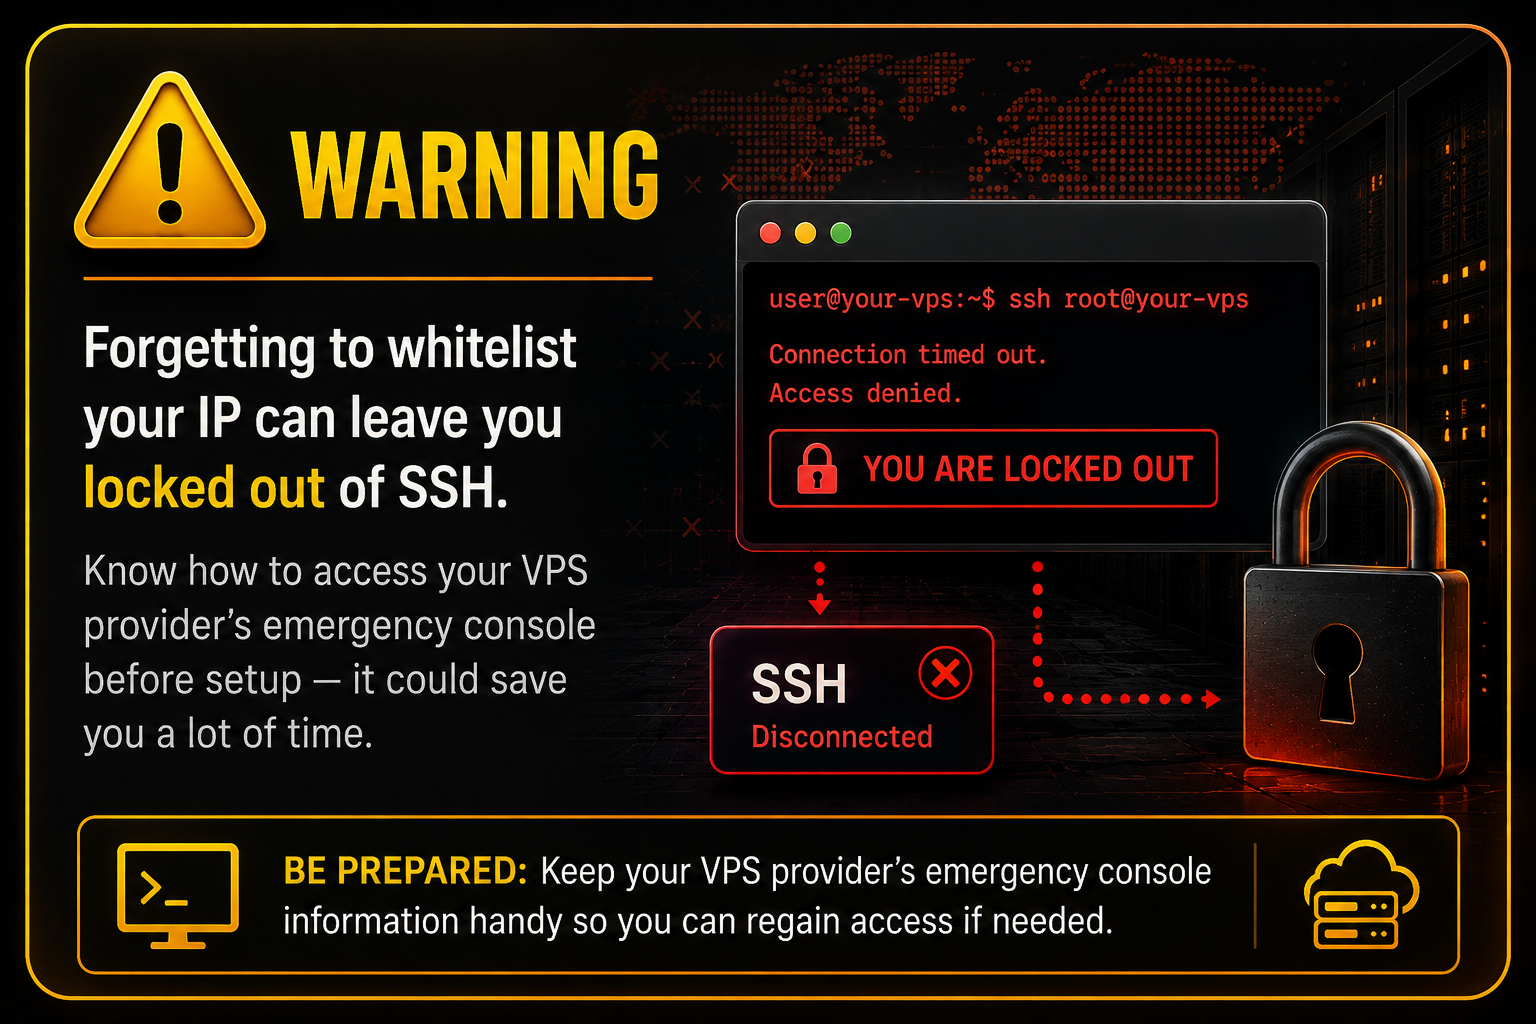
If you accidentally get banned, you'll need to access the server through your VPS provider's emergency console (not SSH) and run:
sudo fail2ban-client set sshd unbanip YOUR.IP.HERE
This is why whitelisting your work IP before setup is so important.
Useful Commands Reference
| Command | What it does |
|---|---|
| sudo fail2ban-client status sshd | Show SSH jail status and banned IPs |
| sudo fail2ban-client set sshd unbanip |
Unban a specific IP |
| sudo tail -f /var/log/fail2ban.log | Watch bans in real time |
| sudo systemctl restart fail2ban | Restart after config changes |
| sudo fail2ban-client reload | Reload config without full restart |
What's Next

Fail2ban reacts to attack attempts after the fact: it bans IPs that have already tried and failed. In the next post, we go further: setting up real-time push notifications so you know the moment someone successfully logs into your server, plus a background check that watches for signs of intrusion.